如何在 PyGame 中使用鼠标缩放和旋转图像?
Pygame 是一个功能强大的库,用于在 Python 中创建 2D 游戏和图形应用程序。它提供了广泛的功能,包括操作和转换图像的能力。在本文中,我们将探讨如何在 Pygame 中使用鼠标缩放和旋转图像。
先决条件
在了解缩放和旋转图像的过程之前,必须对 Pygame 及其事件处理机制有基本的了解。此外,请确保您的 Python 环境中安装了 Pygame。您可以使用 pip 的命令进行安装
pip install pygame
设置 Pygame 窗口
首先,让我们创建一个 Pygame 窗口,它将显示我们的图像并处理鼠标事件。我们可以从导入 Pygame 模块开始
import pygame
import sys
初始化 Pygame 并创建一个具有特定宽度和高度的窗口
我们分别将宽度和高度变量设置为 800 和 600,但您可以随意调整这些值以满足您的需求。现在,我们需要处理将不断更新窗口的主游戏循环:
while True:
    for event in pygame.event.get():
        if event.type == pygame.QUIT:
            pygame.quit()
            sys.exit()
游戏循环保持窗口打开,直到用户通过单击"关闭"按钮将其关闭。如果用户单击"关闭"按钮,我们将通过调用 pygame.quit() 和 sys.exit() 退出程序。
加载和显示图像
要加载和显示图像,我们需要将其导入我们的 Pygame 程序。将图像文件放在与 Python 脚本相同的目录中。对于此示例,我们假设图像文件名为"image.png"。我们可以使用以下代码加载和显示图像:
pygame.image.load() 函数加载图像文件,image.get_rect() 返回表示图像尺寸和位置的矩形对象。我们使用 screen.blit() 函数将图像绘制到屏幕表面上。最后,pygame.display.flip() 更新显示以显示图像。
image = pygame.image.load("image.png")
image_rect = image.get_rect()
screen.blit(image, image_rect)
pygame.display.flip()
缩放图像
现在显示图像后,让我们继续使用鼠标缩放它。我们将使用鼠标滚轮来控制缩放因子。
示例
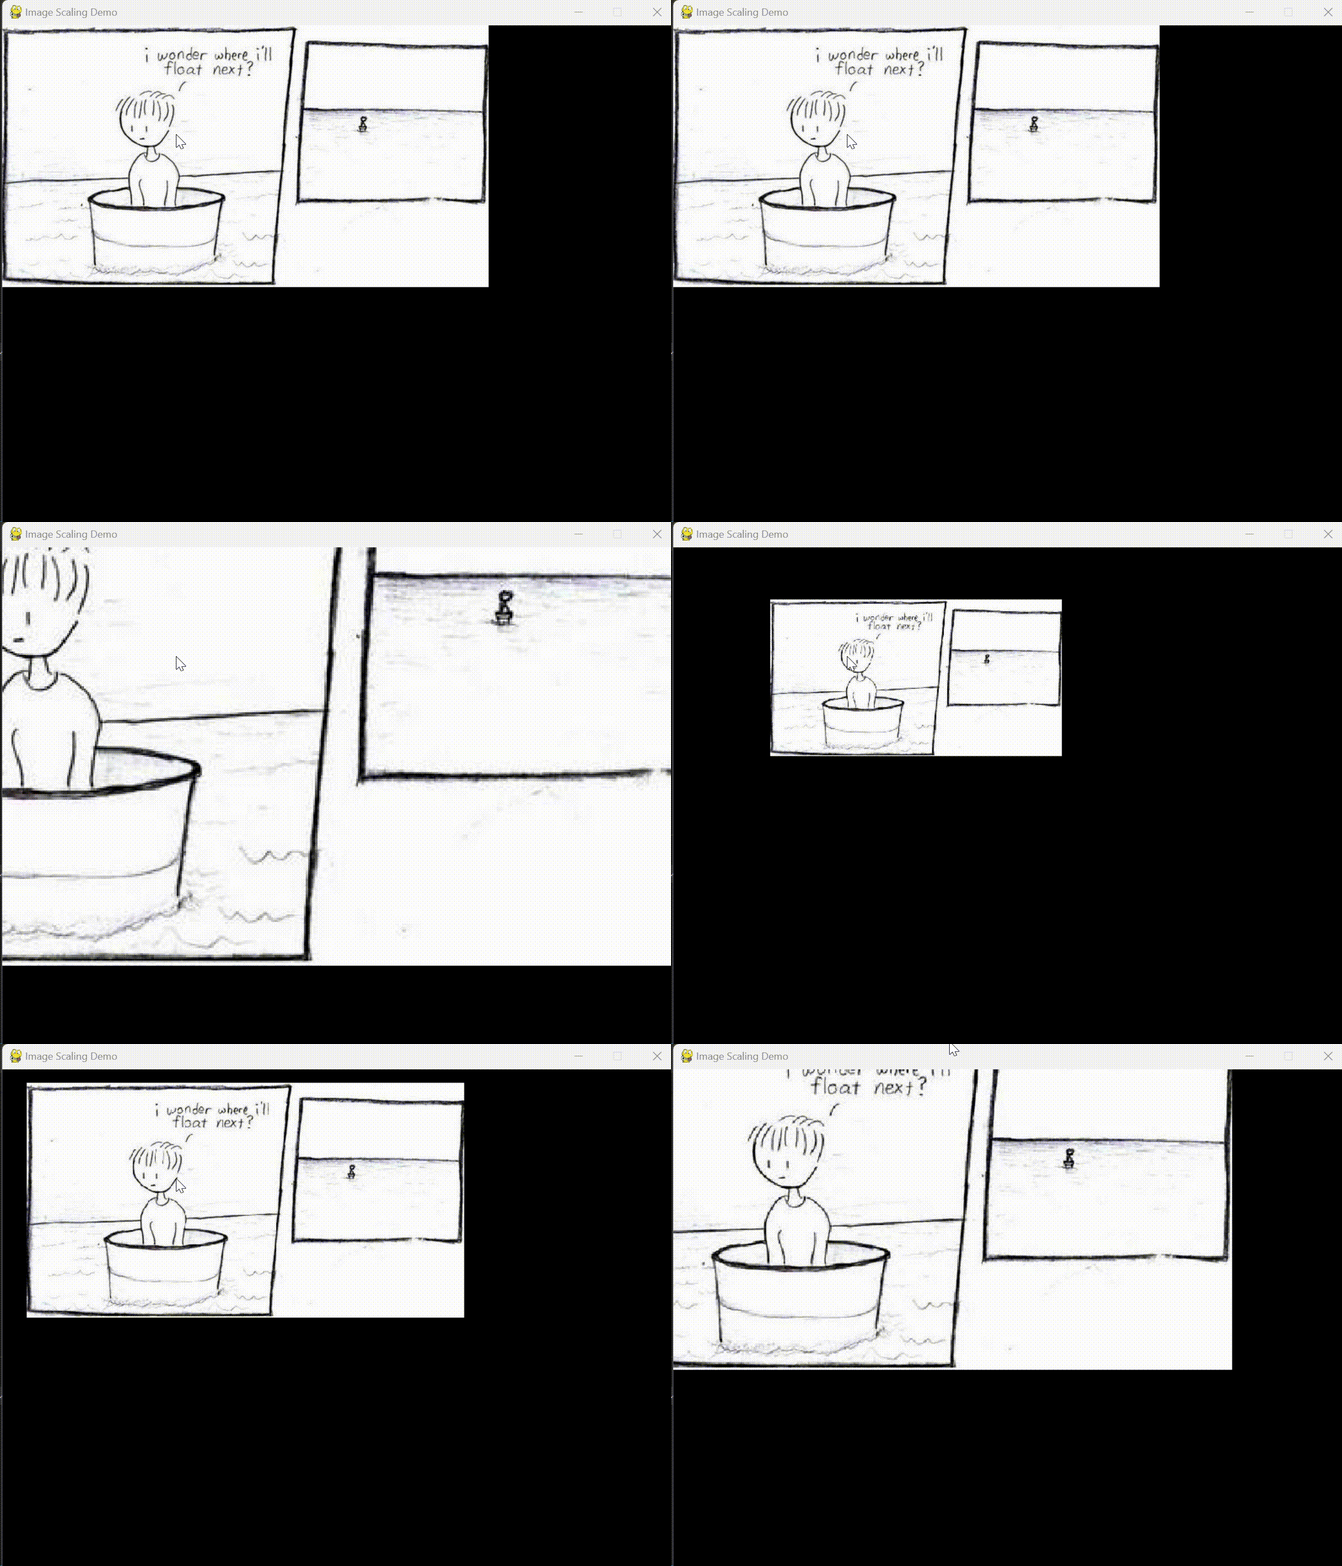
在下面的示例中,我们使用 scale_factor 变量来跟踪图像的缩放。当鼠标滚轮向上滚动(event.button == 4)时,我们将 scale_factor 增加 0.1。相反,当滚轮向下滚动时(event.button == 5),我们将 scale_factor 减少 0.1。
然后我们使用 pygame.transform.scale() 函数根据 scale_factor 调整原始图像的大小。缩放图像的宽度和高度是通过将原始尺寸乘以 scale_factor 来计算的。
更新 scaled_image_rect 以确保图像在缩放后保持居中。我们使用 screen.fill((0, 0, 0)) 清除屏幕以删除先前的图像,然后使用 screen.blit() 绘制缩放后的图像。
import pygame
import sys
# 初始化 Pygame
pygame.init()
# 设置 Pygame 窗口
width, height = 800, 600
screen = pygame.display.set_mode((width, height))
pygame.display.set_caption("Image Scaling Demo")
# 加载并显示图像
image = pygame.image.load("image.png")
image_rect = image.get_rect()
screen.blit(image, image_rect)
pygame.display.flip()
# 设置缩放变量
scale_factor = 1.0
# 游戏循环
while True:
for event in pygame.event.get():
if event.type == pygame.QUIT:
pygame.quit()
sys.exit()
elif event.type == pygame.MOUSEBUTTONDOWN:
if event.button == 4: # 向上滚动
scale_factor += 0.1
elif event.button == 5: # 向下滚动
scale_factor -= 0.1
scaled_image = pygame.transform.scale(
image, (int(image_rect.width * scale_factor), int(image_rect.height * scale_factor))
)
scaled_image_rect = scaled_image.get_rect(center=image_rect.center)
screen.fill((0, 0, 0)) # 清除屏幕
screen.blit(scaled_image, scaled_image_rect)
pygame.display.flip()
输出

注意:运行此代码时,图像将显示在 Pygame 窗口中。您可以使用鼠标滚轮放大和缩小图像。向上滚动可将比例增加 0.1,向下滚动可将比例减少 0.1。缩放后的图像将不断更新并显示在 Pygame 窗口中。
旋转图像
现在,让我们使用鼠标实现旋转功能。我们将使用鼠标运动来控制旋转角度。
示例
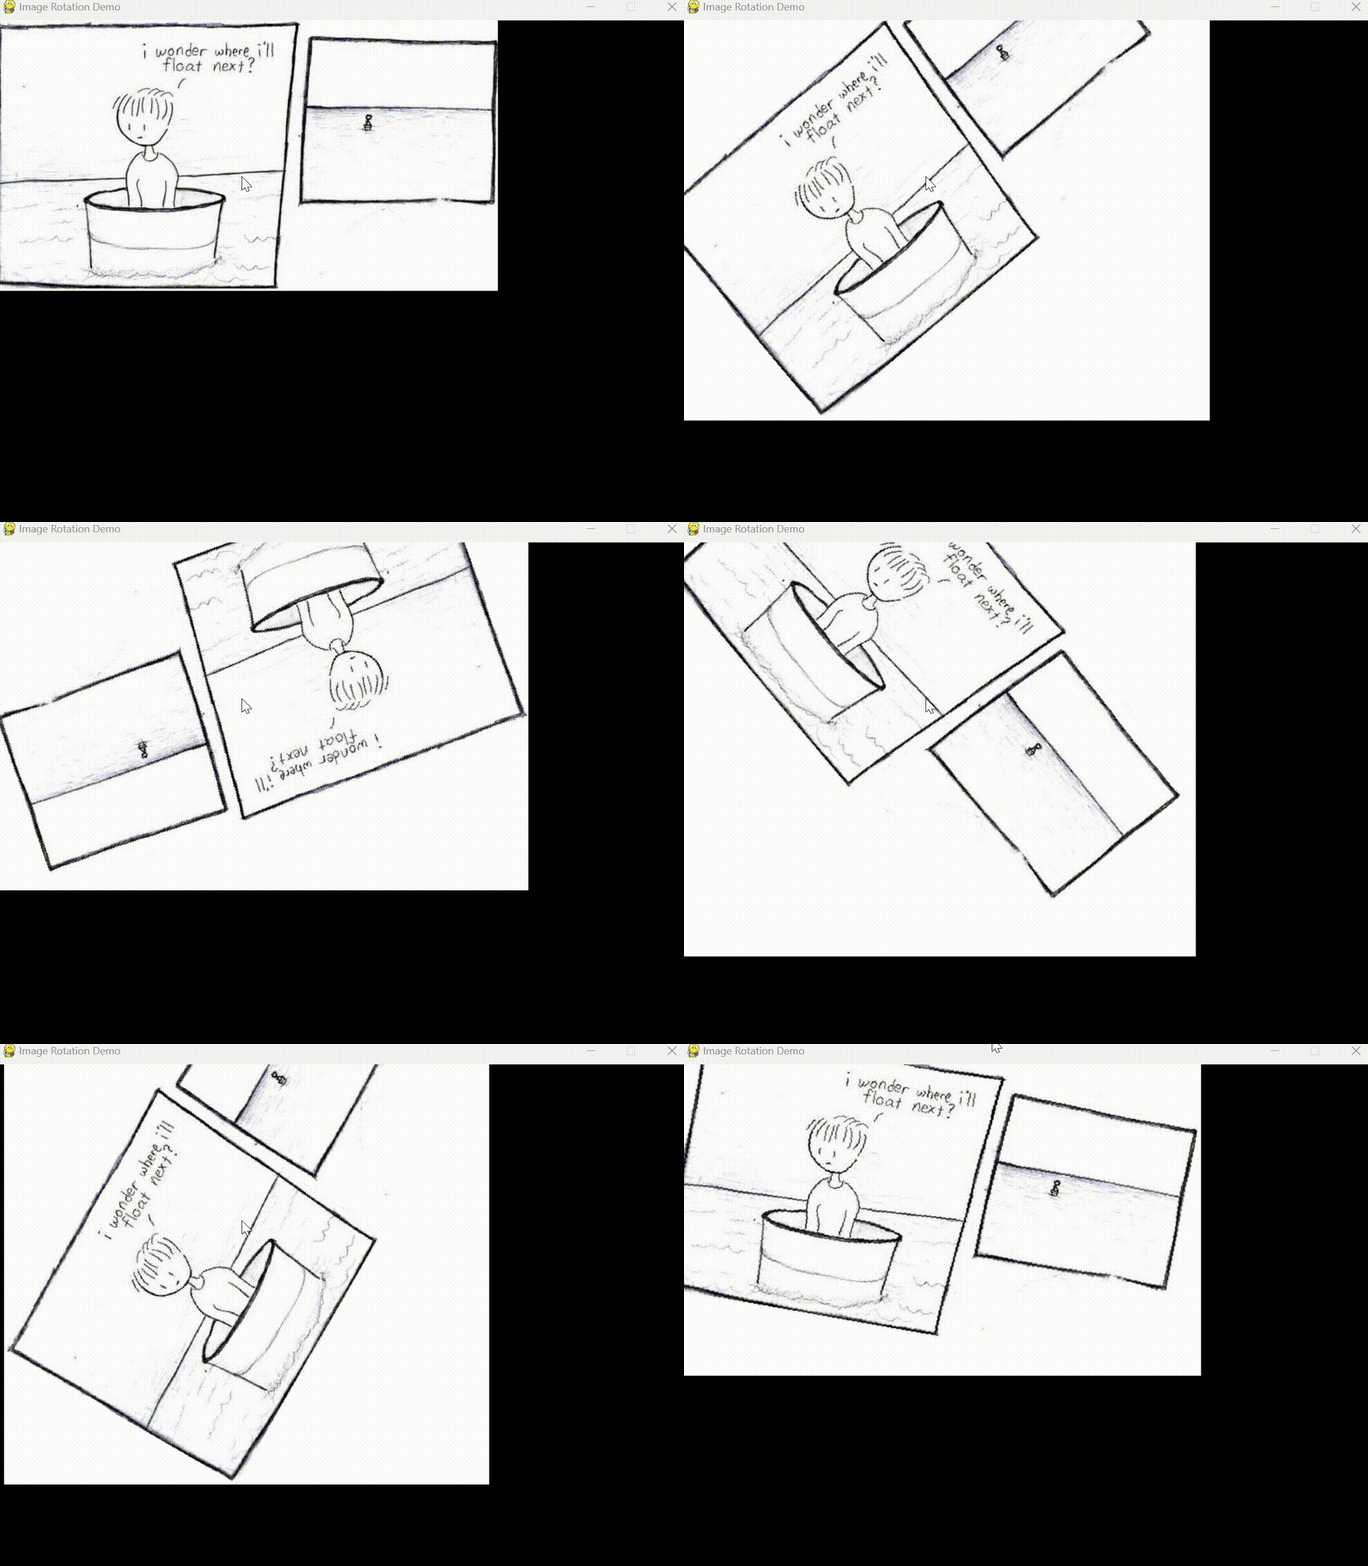
在下面的示例中,我们使用 rotation_angle 变量来跟踪图像的旋转。当鼠标在左键按下时移动时(event.type == pygame. MOUSEMOTION 和 pygame.mouse.get_pressed()[0]),我们会根据相对 x 坐标运动(event.rel[0])调整 rotation_angle。将其除以 10 可提供更流畅的旋转体验。
pygame.transform.rotate() 函数用于根据 rotation_angle 旋转缩放后的图像。与缩放类似,我们更新 rotated_image_rect 以使图像在旋转后保持居中。
import pygame
import sys

# 初始化 Pygame
pygame.init()

# 设置 Pygame 窗口
width, height = 800, 600
screen = pygame.display.set_mode((width, height))
pygame.display.set_caption("Image Rotation Demo")

# 加载并显示图像
image = pygame.image.load("image.png")
image_rect = image.get_rect()
screen.blit(image, image_rect)
pygame.display.flip()

# 设置旋转变量
rotation_angle = 0.0

# 游戏循环
while True:
    for event in pygame.event.get():
        if event.type == pygame.QUIT:
            pygame.quit()
            sys.exit()
        elif event.type == pygame.MOUSEBUTTONDOWN:
            if event.button == 4:  # 向上滚动
                rotation_angle += 10
            elif event.button == 5:  # 向下滚动
                rotation_angle -= 10

    rotated_image = pygame.transform.rotate(image, rotation_angle)
    rotated_image_rect = rotated_image.get_rect(center=image_rect.center)

    screen.fill((0, 0, 0))  # 清除屏幕
    screen.blit(rotated_image, rotated_image_rect)
    pygame.display.flip()
输出

结论
在本文中,我们讨论了如何使用鼠标在 Pygame 中缩放和旋转图像。通过使用鼠标滚轮,我们可以动态调整缩放比例并实时见证图像变换。同样,通过跟踪鼠标移动和点击,我们可以轻松地旋转图像,提供互动且引人入胜的用户体验。

